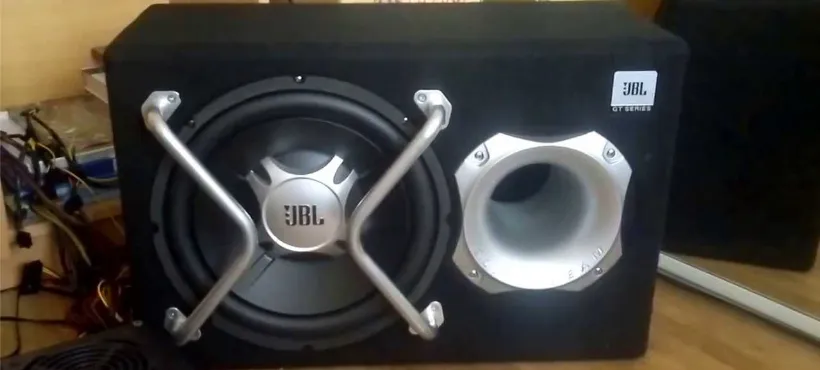
I’m a big proponent of having a subwoofer in the factory car audio system. Doing so will help you get a better bass response and clarity in the overall sound. And there will also be less risk of distortion at higher volume levels.
Installing a subwoofer is not an easy task, however – at least for beginners. Not only do you have to get an amp for your subwoofer, but have to match their impedance/RMS ratings too. All of this makes it a little intimidating for newbies.
But what if there was a way to connect the subwoofer to your factory car stereo without an amp?
Hint: There is.
We’re talking about powered subwoofers.
These subwoofers don’t need an external amplifier to work with because they already have one built-in. These subs are great if you don’t have space in your vehicle for a separate amp/sub or if you’re a beginner and want a slightly easier installation.
Most of them are labelled as ‘under seat subs‘ which means they’re compact enough to fit under the seats in your vehicle. This way you don’t have to worry about making room for them in an overstuffed car.
Below we’ll discuss how you can connect your powered sub to a factory stereo.
Tools Required
Apart from basic tools, you’ll need an amp wiring kit for the installation. Since our powered sub doesn’t come with any cables out of the box, we’ll need a wiring kit.
How to Install a Powered Subwoofer to a Factory Stereo
1. Mount your subwoofer
First of all, we will have to choose the location for the subwoofer. It’s quite important since it’ll run very hot due to the built-in amp. That’s why make sure that the location you’ve selected for the sub is well-ventilated and easier for you to access at the same time.
2. Disconnect the Battery
Since we’re about to connect different wires to the battery, you’ll have to disconnect its -ve terminal to prevent any risk of mishap.
3. Connect the Power Cable
In this step, we’ll connect the power cable from the battery to the subwoofer.
Before making the connection, we’ll have to set up an in-line fuse to protect the circuit. This is important because an unfused power wire can catch fire in case of a short circuit and cause some serious damage.
It’s a common belief that you don’t need an inline fuse if your amplifier has one built-in. But this couldn’t be any further from the truth as the amp’s built-in fuse will only protect the amp, not the whole circuit.
The area where you need to install the inline-fuse is between the battery and the power wire.
To do this, have another short-distance power wire and strip the insulation from both ends. Now crimp the terminal ring that came with the wiring kit on one end and attach the fuse holder on another.
After this, strip the insulation from one end of the main power cable and attach it to the other side of the fuse holder.
The fuse should be as close to the battery as possible. Otherwise, it won’t be able to do its job.
In case you find this last step a little too technical, you can go for a wiring kit that has fuse pre-assembled.
In the end, you’ll need to pass the power cable from the engine bay to the main cabin through the firewall. Once in the main cabin, you’ll need to place it along one side of the vehicle, while covering it with the carpet, until you’re near the subwoofer location.
4. Connect the Turn-On and RCA wires
Now it’s time to connect Turn-on and RCA wires to the car stereo and the sub. The turn-on wire usually connects to the Blue-colored remote turn-on wire in the wire harness. But it can have a different color depending on your OEM, so check the owner manual as well.
Since we’re dealing with factory stereo here, we’ll need a line output converter (LOC) to convert the speaker-level signal to RCA-level signal. We’ll connect the stereo’s speaker wires to LOC’s input and then use RCA cables to connect it to our powered subwoofer.
Like the power cable, you’ll have to tuck these cables under the carpet and pass them from stereo to subwoofer alongside one side of the vehicle. Make sure they’re passing through the other side of the vehicle from power wire – not the same. Otherwise, you might get electrical noise in your sound.
5. Connect the Ground Wire
The last wire we need to take care of in this process is the ground wire. This is important because bad grounding can be the reason behind many amp-related problems.
This wire should be connected to your chassis and should touch the metal itself – without any paint.
Look around for any metal bolt on the vehicle floor you can connect the ground wire to. The connection should be tight and strong enough to not get loose over time. For more info, you can check out the video below.
6. Reconnect the Battery
Now that we’ve made all of our connections, we’ll reconnect the -ve terminal of the battery.
7. Test the Subwoofer
At last, it’s time to test your powered sub. In the beginning, you should have the amp gain down and increase it only when you’re sure that everything is working fine. This will prevent your audio components from any damage during testing.
For more info, you can check our post on setting up on the amp gain.
