Amid beefing up our vehicles with powerful amps and subs, we sometimes forget that their electrical systems have a limited capacity.
And if the car audio components put a load too heavy for the electrical system, you’ll start to get different issues related to low-voltage, such as headlight dimming.
It’s because, in addition to the car stereo system, the alternator is also responsible for powering other vehicle systems such as ignition, AC, headlights, etc.
Best Wire for Big 3 Upgrade
How does a Car Battery and Alternator Work?
Before anything else, we need to understand how car batteries and alternators work.
Contrary to popular belief, the battery does not power a car. Instead, it only stores that power and uses it to start the starter motor.
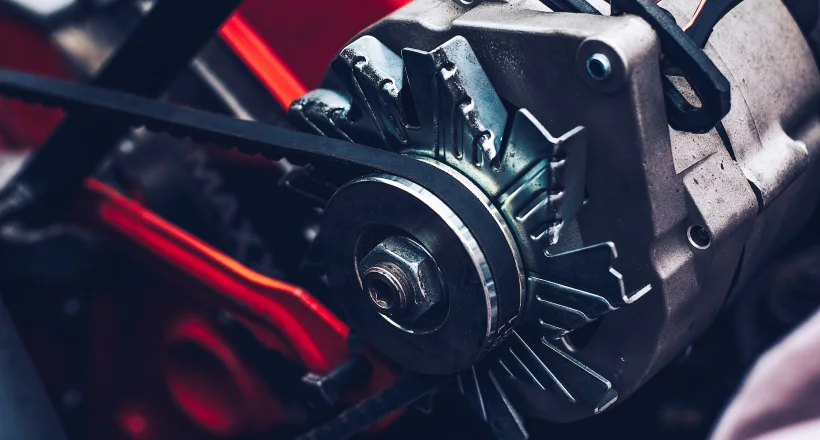
The starter motor, in turn, turns on the engine. When the engine is on, it turns a drive belt that rotates the pulley attached to the alternator.
Once the alternator starts, it converts the mechanical energy into AC electric energy and powers your whole vehicle. That’s why you should upgrade the alternator before you upgrade the battery.
What is the Big 3 Upgrade?
Besides upgrading the battery and alternator, you should also pay close attention to their wiring. Factory wires come with a limited current-flow capacity (due to the smaller gauge) that’s only good enough for stock audio components.
You can think of these wires as pipes through which current will flow. No matter how much power a battery/alternator sends, the amplifier will not receive enough of it if the ‘pipes’ are narrow.
That’s why you need to upgrade the three main electric wires. It is also known as the Big 3 upgrade. These wires include:
- Charging wire. This wire runs from the alternator to the positive terminal of the battery.
- Battery ground. This wire runs from the battery to a grounding point on the chassis.
- Engine ground. This wire runs from the engine block to the chassis.
Using a 1/0 gauge wire (or at least 4 AWG) for those cables will allow the current to flow easily, and you won’t get the low-voltage problem under demanding conditions.
How to do the Big 3 Upgrade?
Tools Required
The exact tools you need for this installation will vary depending on your vehicle. But some of them are common, such as:
- Wrench
- Screw driver
- Socket Set
- Crimper
- Zip-ties. For tidy cable management.
- A big 3 upgrade kit. This kit will have all the wires you need for this process – just like amplifier wiring kit. But you can also buy them separately if you want to. But whatever you take, go for the OFC cables – not CCA.
Installation Process
To prevent the risk of shorting or any other damage, we’ll disconnect the +ve terminal of the battery first.
You’ll need to locate the alternator. In some vehicles, it’s harder to access. In that case, you may have to spend a little extra time removing the covering parts. Or you can also consult a professional mechanic.
Once you have access to the alternator, remove its terminal cover. Now you’ll need to identify the charging cable. It’s the largest wire coming out of the alternator and has its other end connected to the battery.
Now we’ll add the new charging cable. There’s no need to remove the factory wire. Just add your capacity wire on top of it. Then attach its other end to the positive terminal of the battery. Use the tesa tape and zip ties to ensure this wire stays in place and does not touch any nearby part.
Up next, we’ll add the ground wire for the battery. Unlike what many think, you can’t just use any metal surface of your vehicle as a grounding point. This point should be solid and have no paint or rust.
If you cannot find such a spot nearby, you can make one yourself. All you need to do is drill a hole into the vehicle body and add a nut/bolt.
Then you’ll need to scrape the paint off that surface with the help of a wire wheel.
Now you can use this nut and bolt for the grounding. Some people use a screw instead of the bolt, but you should avoid them as they can get loose over time and make the ground connection unstable.
Add your ground wire to the -ve battery terminal and run it to the grounding spot. Once you’ve made the connection, apply some clear coat spray to prevent rust in the future.
The last wire we need to change is the engine ground wire that goes from the engine block to the chassis. First, you’ll have to locate this OEM ground wire on your engine block.
Then, remove this wire and clean the connection points if there’s any grime. Now connect the new wire to the grounding point. Again, make sure that the connection is stable.
Now reconnect the +ve terminal to the battery.
Conclusion
That’s it. Now you’ve upgraded the wires most critical to your car’s electrical system.
But this is not the end of the road. If you still have the budget left, you can check out the aftermarket battery, a high-output alternator, or even the capacitor – to take the performance level even higher.