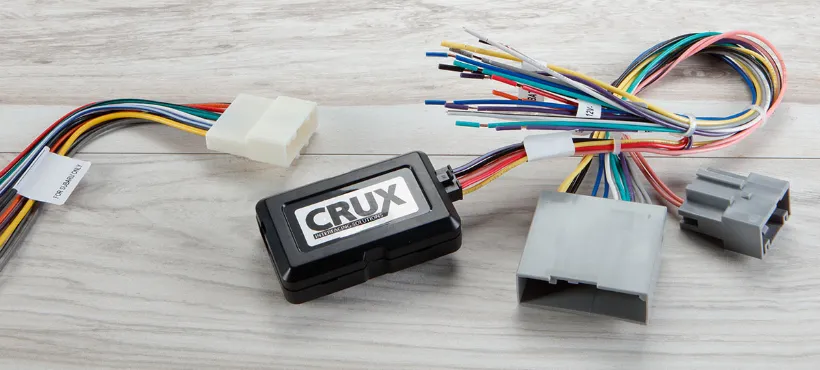
If you’ve ever bought an aftermarket car radio, you’ll know that it comes with different wires connected to a harness. That’s called the radio wiring harness.
During installation, this harness connects to the factory wiring harness adapter. Then, that harness goes into the backside of the car radio. And the harness adapter is plugged into the vehicle connectors.
The main advantage of using a harness is the ease of use.
All you need to do is connect the same-color wires from the radio harness and the adapter. After that, you’ll connect the adapter to the vehicle connectors without worrying about wiring diagrams and color codes for your vehicle.
Additionally, it also makes future upgrades much easier.
How to Wire a Car Stereo Without a Harness Adapter
But what if you want to wire a car stereo without a harness?
In that case, you have two different procedures to install the car stereo – depending on what you mean by the ‘harness’.
Is it the head unit harness or the harness adapter? Creating a new head unit harness is complex and is seriously not worth your time.
So, in this article, we’ll deal with the latter – how to install a car stereo if you have no harness adapter.
The short answer is that you’ll have to cut off the vehicle radio wiring’s connector and connect the wires directly to the radio wires.
Here’s how it goes:
1. Cut Factory Radio Wires
First of all, cut the wires off the vehicle radio connectors one by one using a cutting plier.
Now you’ll have to find out the functionality of each wire. To do so, you’ll either need the vehicle’s radio diagram or test light.
I prefer the latter as it takes the guesswork out of the equation.
2. Identify Memory, Accessory, and Ground Wires
Once you have the test light, connect its one end to the bare metal surface of the vehicle which can act as a good grounding spot. At this point, you also need to make sure that your radio fuse is not blown.
Then strip each wire by 1/2 inch using a wire stripper. Now turn the ignition off and touch each wire with the test lead.
The one wire that turns on the light will be your constant 12V memory wire. This wire will be connected to the yellow wire of the radio harness. You can use a white cap or a butt connector to make the connection stable.
Now turn on the ignition and repeat the above process. The wire that turns on the light this time will be your ignition wire. This wire will be connected to the red wire of the radio harness.
After that, turn on the vehicle headlights and the wire that turns on the test light will be dimmer or illumination wire. This wire will be connected to the Orange wire of the radio harness. This wire isn’t as common as the above ones though. So if your radio harness doesn’t have this, you can skip it by capping it off (having a bare wire carries a risk of shorting).
Next comes ground wire. This one will be colored Black in almost all of the vehicles. This one will be connected to the ground wire on the radio harness which is also Black.
3. Identify Speaker Wires
Once you’ve made these connections, you’ll be left with the remaining eight speaker wires. These wires will be arranged in four pairs – one for each speaker.
To find out these wires, select each wire pair one by one.
You’ll need two alligator clips connected to a 9V battery (-ve to -ve and +ve to +ve). Then select each pair one by one and connect the other end of the +ve alligator clip to one wire and the -ve end to the other. Depending on the polarity, any one of the four car speakers will pop up or in.
For the sake of example, let’s say the front-left speaker pop in. Then you’ll need to connect the wire connected to the positive alligator clip to the negative front-left speaker wire (positive front-left if it pops out). And the one connected to the negative alligator clip is positive front-left (negative front-left if it pops out).
Repeat this process for the remaining three pairs and then connect them with their corresponding wires from the radio harness.
To be frank, this part is quite lengthy (you’ll need to remove the door panels to see if speakers pop in or out) and you’d be better off with the wiring diagram.
4. Plug the Harness into the Radio
Now that you’ve made all of these connections, you need to plug the radio harness into the radio.
And that’s it. Now you’ve installed a radio without the harness adapter.
Conclusion
All things said, I don’t recommend going through this route (unless you don’t have a harness adapter) because the next time you upgrade your radio, you’ll need to cut these connections again and make new ones right from the scratch.