Imagine that you’ve installed a new amplifier in your vehicle. And when you play the music, nothing happens.
The amp is not turning on.
Now you don’t know whether you’ve skipped any step during the installation, the wiring is incorrect, or there’s something wrong with the amp itself.
In this post, we’ll talk about how you can diagnose a car amplifier.
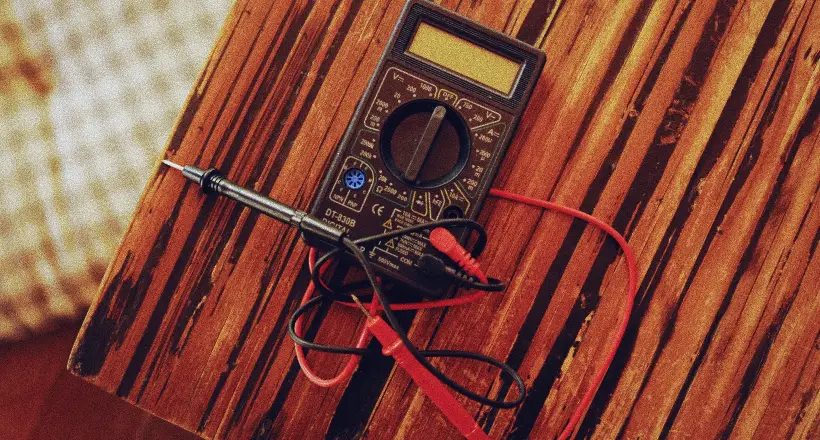
As techy as it may sound, it’s a fairly simple procedure. All you need is a multimeter, such as Fluke 115, and then follow the steps listed here. The Fluke 115 is a professional-grade digital multimeter, which is why it costs more than 200 bucks. But you can go for a cheaper option like AstroAI Multimeter as well.
The other scenario where you can apply these methods is when your amp is working fine but suddenly turns off.
Or if you’ve got a 2nd-hand amp and wanted to confirm that there’s no major problem with it.
How to Test a Car Amp with a Multimeter
So, without any further issues, let’s begin:
1. Check Voltage in Power Wire
The first thing we’ll check is the voltage in our constant +12V power wire.
For this, you’ll need to set the multimeter to DC mode. Then, connect its positive and negative leads to the +12V and ground terminals of the amplifier.
It should be more than 10 Volts.
If the reading is 0V, then there’s an issue with your constant +12V power wire. Inspect this wire to confirm that it’s not torn and the connection is clean/secure.
2. Check In-line Fuse
To check if you have a blown inline fuse, you’ll have to take it out from the fuse holder first. Sometimes you can judge by looking at it from the tiny glass window. If the metal inside is intact, then the fuse is not blown.
But this method is not 100% accurate. Instead, set the multimeter in continuity mode. Then, connect its positive and negative leads to both sides of the fuse. If you hear a beep sound from the multimeter, the circuit is complete, and the fuse is working fine.
But if there’s no sound, it’s blown.
3. Check Voltage in Remote Turn-On Lead
So let’s say you have proper voltage in the power wire, but the amp is still not turning on.
In that case, we’ll have to check the voltage in the remote turn-on lead. This wire is located between your radio and the amplifier and sends the turn-on/off signal to the amplifier.
Set the multimeter to DC mode again. Then, connect its positive and negative leads to the +12V and remote-in terminals of the amplifier.
TIthis should give you a 12V rating. Anything below that would not be able to turn on the amp.
4. Check Amp Fuse
If you’ve checked all the wires and connections mentioned above, but the amp is still not turning on, it’s time to check the amp’s built-in fuse(s).
Pull out of the amp fuses and test them out one by one (just like we tested inline fuse). If any of them is blown, replace it with a new fuse of similar amperage.
5. Test Ground Connection
When making a ground connection, you should always test the resistance at the different points in your vehicle. And choose the one point where you get the lowest resistance.
To test the ground connection, disconnect the negative battery terminal first. Then set the multimeter to resistance mode.
Connect the negative multimeter terminal to the ground wire. And connect the positive terminal to the grounding point. If the reading you get is 0.2/0.3 then it’s a good ground point.
But if the reading is too high, such as 1.4, you should choose another point for grounding.
6. Check Voltage Drop
In this test, we’ll check if there’s any voltage drop in your vehicle.
Set the multimeter to DC mode. Then check the voltage between battery terminals (should be 14.4V).
Now connect the positive and negative multimeter leads to the +12V and ground terminals of the amp. Then, compare the new reading with the older one (the one you got with battery terminals).
If the difference is too high (greater than 0.5V), then there’s some problem with your system voltage. Maybe your amp is too powerful for your system. And you’ll have to upgrade other components such as the battery and alternator. You should also change power/ground wires and big 3 wires to see if anything changes.
7. Check RCA Input Cables
As we’ve checked for almost all issues related to the amp itself, it’s time to measure the voltage in the input cables.
You’ll need to set your music source as your phone and connect it through an aux cable. Download an app called Frequency Sound Generator and play a test tone of 1000Hz frequency (40Hz if you’re testing for a subwoofer). Then, plug that RCA cable out of your amp and set the multimeter to AC mode.
Connect the positive multimeter lead to the outside of the RCA connector and the negative lead to the center pin.
You should get some voltage readings on the multimeter. If not, the RCA cable is not working and should be replaced.
8. Check Speaker Output Cables
Similarly, we’ll test the speaker output wires. For each channel, connect the positive multimeter lead to the positive terminal and the negative lead to the negative terminal. There should be some reading on the multimeter.
Conclusion
These are some of the methods you can follow to diagnose your amp. If you’ve followed all of these steps and the amp is still not working, there can be some other issues. Maybe your speakers/sub are blown. Or there’s a load mismatch on the amp. Or you’ve messed some settings up (particularly true if the amp was working fine and suddenly stopped working).
If you’re deadsure that none of these issues is related to your situation, the best thing you can do is contact the amp manufacturer and ask for their tech support.